Introduction to Gas Cooktop Installation
A new gas range can boost your cooking experience with its superior and uniform heating capabilities. Proper gas stove cooktop installation is crucial for safe, efficient, and optimal performance.
This guide outlines essential considerations for installing gas ranges:
- Selecting the right chef gas cooktop model and specifications for your kitchen
- Checking for gas piping compatibility and capacity with your new gas cooktop
- The detailed process of gas cooktop installation, including critical steps for gas stove oven positioning
- Connecting new cooktops to cooktop gas supply lines
- The role of a licensed gas fitter when safety or complex configurations are a concern, such as fitting gas lines
With meticulous planning, the installation of your new gas oven can be a manageable DIY task. Nonetheless, we recommend engaging a licensed gas professional for complex tasks like working with flexible gas lines. They can ensure your new cooktop is safely set up, connected, and ready when you install gas appliances.
Read on to learn about the complexities of upgrading to a new gas cooker.
Safety Checks and Preparation
When installing a new gas cooktop, safety is of utmost importance. Here are some key safety checks and preparation steps before installing your gas stove:
Turn Off Gas Supply
Find the main gas shutoff valve, typically near the gas meter, and switch it to 'off’. This will shut off the gas supply to the entire home and ensures no leaks occur during the cooktop installation.
Check for Gas Leaks
With the main gas supply closed, inspect your old cooktop gas lines and attachments with a leak detection solution to confirm there are no gas leaks before you initiate any gas appliance installation. Make sure any leaks are repaired by a licensed professional before proceeding, to ensure compliance with your kitchen’s specifications.
Materials and Tools
Collect all required materials, including the cooktop, gas regulator, hose, fittings, pipe joint compound, and essential tools. Ensure you’ve got tools such as pipe cutters to safely cut lines, adjustable wrenches, a drill, screwdrivers, and any additional tools required on hand.
Protect Surfaces
Protect countertops, floors, and nearby areas against damage during installation and to ease cleanup afterwards. Ensure you have enough space in your work area to operate safely.
Check Regulations
Check the NSW local building codes and gas fitting regulations. Verify that clearances around the cooktop comply with legal requirements; if not, replacement of old parts may be necessary to accommodate your space.
Once the gas is disconnected, surfaces protected, necessities assembled, and regulations reviewed, you’re ready to securely install your gas cooktop.
Selecting the Right Gas Cooktop
In picking out a new gas cooktop, weigh up the dimensions, burner designs, and technical traits to suit both your existing cooktop space and culinary requirements.
Cooktop Sizes
Ensure fit by noting that standard gas ranges are 76-91 cm wide, aligning with typical residential kitchen cutouts. Gauge the area where your oven was situated to confirm that the newly chosen cooktop aligns flawlessly.
Burner Types
Every unit, including your old gas cooktop, comes with burner elements such as:
- Rapid boil elements for quick heating, often surpassing electric cooktop counterparts
- Precise simmer burners for delicate cooking
- Oval or elongated stainless steel burners to fit pans of different sizes
- A mighty wok burner connected by a black gas pipe
When replacing gas cooktops, opt for a model with a burner layout that matches your cooking style.
Gas Supply and Ignition
Confirm your kitchen’s specific gas type and the compatibility with an electric stove, and establish the supply pressure you can use. Gas electric cooktops, natural gas and LPG cooktops, are available. Electronic ignition eliminates the need for standing pilots.
Selecting the optimal gas cooktop model will ensure safe, seamless installation and operation in your kitchen.
Measuring Countertop Dimensions
Accurately measuring to fit existing countertop space is crucial before selecting and installing a new gas cooktop. Installing new gas cooktops? Standard sizes range from 60cm for compact models to 90cm wide for expansive versions.
Measuring Countertop Width
Use a tape measure to assess and can cut across the full width needed in the countertop where the cooktop will be installed. Contrast this width with the dimensions given for possible new models to ensure your new cooktop fits accurately.
Measure Countertop Depth
Confirm the front-to-back depth of the countertop cutout, given that cooktop depths usually range between 50-60 cm. Carefully cross-check your measurements against cooktop specifications before purchase.
Account for Clearances
When installed, the gas cook top must adhere to minimum clearance distances as outlined in the installation instructions, ensuring that your countertop measurements meet these specific requirements.
With accurate countertop measurements ensuring the new cooktop fit, you can consult your local gas company for an appropriately sized model for safe installation.
Checking Gas Specifications
Before installing a new gas cooktop, it’s crucial to check that your home’s gas supply line is compatible and up to code. Essential specifications to check include:
Gas Type
Confirm whether you have natural gas or LPG connected. Gas cooktops are typically manufactured for one fuel type or the other.
Supply Pipe Diameter
Examine your gas pipe and ensure the connection point to the cooktop fits a standard 1/2in x 34in sizing. Standard residential gas lines have a 1/2" diameter. A non-standard size may necessitate the use of right angle pipe extensions or a brass adapter.
Gas Supply Pressure
Low pressure lines supply gas at 1 kPa, while medium pressure lines operate at 1-7 kPa. Consult specifications and regulators to affirm that your cooktop is compatible with your kitchen’s supply pressure.
Adequate Gas Flow
Perform checks to ensure enough gas flow and pressure for your modern cooktop, designed to outperform the previous model, allowing all burners to operate concurrently at peak capacity.
If you encounter any specification or capacity issues, we recommend seeking professional gas work to safely upgrade gas lines as needed for your new cooktop.
Clearance and Ventilation Guidelines
Gas cooktops require proper clearances to surrounding surfaces for adequate ventilation and prevent fire hazards. Here are the key Australian standards for gas stove installation, ventilation and spacing:
Clearance Above Cooktop
a minimum distance of 600 mm is required from the tallest part of the cooktop burner to overhead range hoods or other flammable surfaces.
Side Clearances
A minimum clearance of 100mm is required from each side of the cooktop to any adjacent vertical combustible surface like base cabinets or walls.
Rear Wall Clearance
Once secured, the back of your cooktop must be positioned at least 100 mm forward from the rear wall, facilitating accessibility for the gas connection and ensuring proper ventilation.
Ventilation Needs
Ensure proper ventilation, which could include an exhaust fan or an open window, while the gas cooktop is in use. Adequate airflow is crucial for safe function.
Ensuring adherence to these specifications means that your cooktop can be used safely and efficiently.
Step-by-Step Installation Process
Carefully following each step in the gas stove installation process helps ensure safe and smooth functionality in your kitchen.
1. Prepare the Countertop
Confirm that the countertop cutout dimensions are suitable when you’re replacing gas cooktops. Make any adjustments needed when you take out the old and ensure a secure fit for the new appliance.
2. Place the Cooktop
Carefully put the cooktop in place into the designated cutout, ensuring not to mark any of the adjoining surfaces. Centre within the space.
3. Secure the Cooktop
Employ secure brackets and a pipe joint, if necessary, to fasten the cooktop firmly into the countertop opening. Tighten clamps to hold it firmly in position.
4. Connect Gas and Electric
Carry out the gas connector process as per guidelines, learning how to apply Teflon tape to end fittings as a preventative measure against potential leaks. Ensure successful ignition by firmly connecting the power cord’s end connector fitting to an available power point.
5. Test Gas Connections
Verify every gas port connection is tight with no leaks before moving to the next step. Check by spraying a soapy solution and looking for bubbles.
6. Power On and Test
Turn on the gas by using the off gas cock and power supply. Spark igniters on each burner to ensure proper ignition and flame operation. Inspect visually.
7. Final Checks
Carefully check burners at both high and low settings. Review manual for proper adjustment if flame performance is inconsistent.
Getting Professional Help
Installing a gas cooktop involves strict adherence to safety procedures and building codes. It’s highly recommended to seek professional help if any issues arise or if any part of the installation process seems unsafe or too complex.
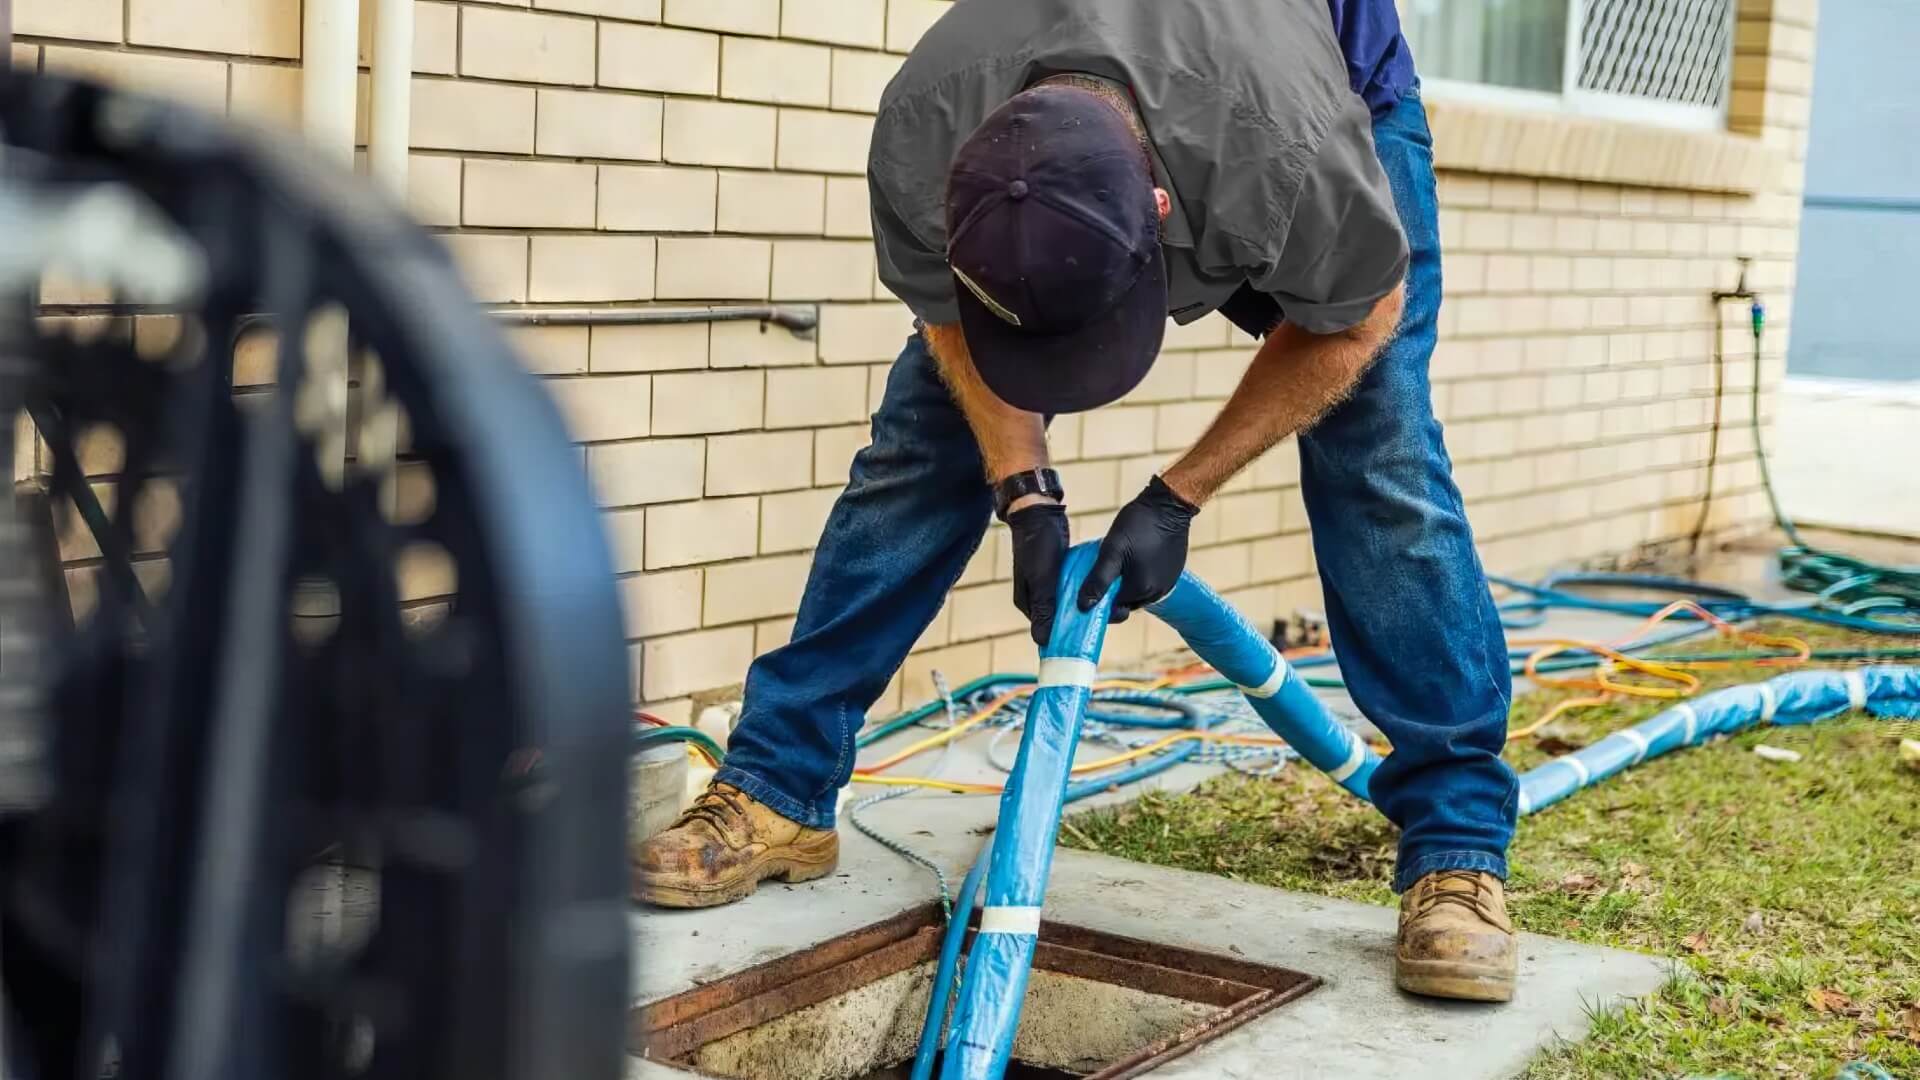
Licenced Gas Fitters
For Colyton residents, contact our fully licensed gas fitting specialists at Colyton Plumbing. Our decades of experience enable us to offer prompt installation and connection services for your new gas cooktop, with full regulatory compliance.
Installation Services
Our skilled technicians deliver comprehensive installation services, ensuring your new appliance, such as a new gas cooktop, is hooked up seamlessly. We can manage the entire installation process, from inspection and preparation to gas and electricity connections, leak testing, and functional verification.
Repairs and Maintenance
We also specialise in maintenance and repairs for existing gas cooktops. Our expert team can address problems, swap out parts commonly sold at home centers, and calibrate components for gas stoves, to restore peak functionality.
Advice and Consultation
Unsure if your current gas line can accommodate a new cooktop? Need guidance on models or specifications? Feel free to reach out to us for advice and transparent quotes.
Contact our friendly staff at jobs@colytonplumbingservices.com.au or call 1300 349 338 to discuss your needs.
For reliable, licenced gas fitting services in the Colyton region, trust the knowledgeable team at Colyton Plumbing to safely handle your gas cooktop installation and repair needs.
Concluding Safety Tips
Installing and operating a gas cooktop safely requires ongoing diligence. Here are some final tips:
Conduct Regular Checks
Regularly have your gas fittings and hoses inspected for leaks or wear. Ensure the cooktop area remains free of combustible materials. Keep burner caps and grates clean for optimal flame function.
Be Alert to Gas Leaks
If you detect a gas leak or smell gas, immediately turn off the appliance, be it a gas cooktop or water heater, and gas supply. Open windows and evacuate the area until a professional can inspect.
Caution in Cooktop Use
Always supervise cooking, keep towels and other items clear of the cooktop, and exercise caution around children. Ensure pot handles don’t extend over the front edge, especially when boiling hot water, where they can be bumped. Refer to all safety guidance in your user manual.
By selecting the right gas cooktop model, safely installing it to all regulations, and using appropriate precautions in operation, you can enjoy enhanced cooking capabilities while keeping safety the top priority.